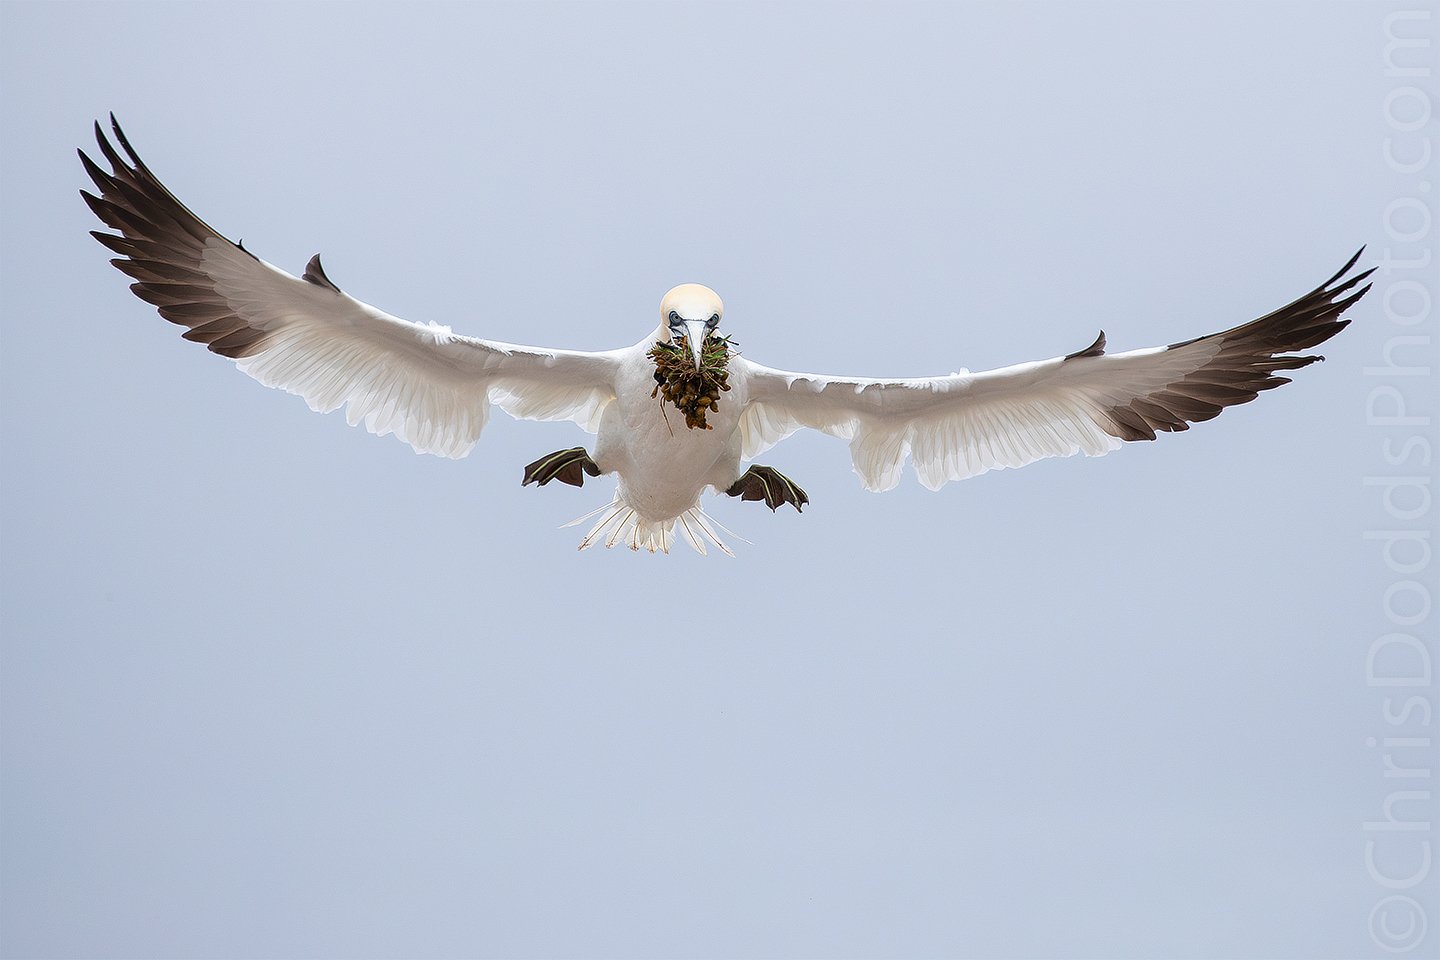
Black and White Portrait of a Northern Gannet

Northern Gannet B&W PORTRAIT (Morus bassanus, Fou de Bassan, NOGA) From my Gannets Galore Workshop on Bonaventure Island at Parc National de l'île Bonaventure-et-du-Rocher-Percé, Quebec, Canada. Image Copyright ©Christopher Dodds. Sony Alpha a9 Mirrorless Camera & Sony FE100-400 F4.5-5.6 G Master OSS @ 400mm and minimum focusing distance. Full frame image. ISO 800, f/5.6 @ 1/4,000s Manual exposure mode.

Northern Gannet a la Sony a9

Northern Gannet BOUQUET (Morus Bassanus, Fou de Bassan, NOGA) Parc national de l'Île-Bonaventure-et-du-Rocher-Percé, Bonaventure Island, Quebec, Canada. Image Copyright ©Christopher Dodds. Sony Alpha a9 Mirrorless Camera & Sony FE100-400 F4.5-5.6 G Master OSS  @176mm. ISO 640 f/5.6 @ 1/4,000s Manual exposure mode. PURCHASE A PRINT or LICENSE IMAGE FOR PUBLICATION HERE.

Here's a Northern Gannet from a rare opportunity to photograph alone on Bonaventure Island while I was testing the new Sony a9 mirroless camera with the new Sony FE100-400 F4.5-5.6 G Master OSS lens. I was blessed with a cloudy bright day, which is my absolute favorite lighting for my all-time favorite bird photography place where I have spent more than a year of my life since falling in love with the Gannets there! (If you were to add up all of the days spent teaching workshops there over the years).

I still have a couple of spots available for my June 5-7, 2018 Gannets Galore workshop there. Read more about the workshop I host there every year HERE.

Northern Gannet THE BOUQUET

Northern Gannet THE BOUQUET (Morus Bassanus, Fou de Bassan, NOGA) Parc national de l'Île-Bonaventure-et-du-Rocher-Percé, Bonaventure Island, Quebec Image Copyright ©Christopher Dodds www.chrisdoddsphoto.com All Rights Reserved. Canon EOS 1DX Mark II, 100-400mm f/4.5-5.6 L IS II USM @400mm. ISO 1600, f/8 @ 1/3,200s Manual. Full Frame. PURCHASE A PRINT or LICENSE IMAGE FOR PUBLICATION HERE.

Here's another Gannet from the first day of my Gannets Galore workshop. This one in heavy fog. Foggy images lack contrast, and look washed-out when exposed properly.

You can adjust the contrast several ways, to reflect how much fog you would like in the image; I used the levels tool (in Photoshop), and adjusted the darks by grabbing the left slider and dragging it to the right. Hold down the "ALT" Key while moving the slider, and you will see when the darks start to clip. If you move the slider far enough to clip the darks, you loose details in the darkest parts of the image. Be aware that this might increase any noise in the image; An effect that is amplified if you start with a poorly exposed image.