The first of five back-to-back Deluxe Puffin trips last summer started exactly how you’d hope.
Birds moving well, puffins coming in with capelin, and it didn’t take long before everyone settled into it. You could feel the group starting to lock in—picking up flight lines, timing things a bit better with each pass.
We were right in the middle of that when Hugh Smith called it out.
“Merlin!”
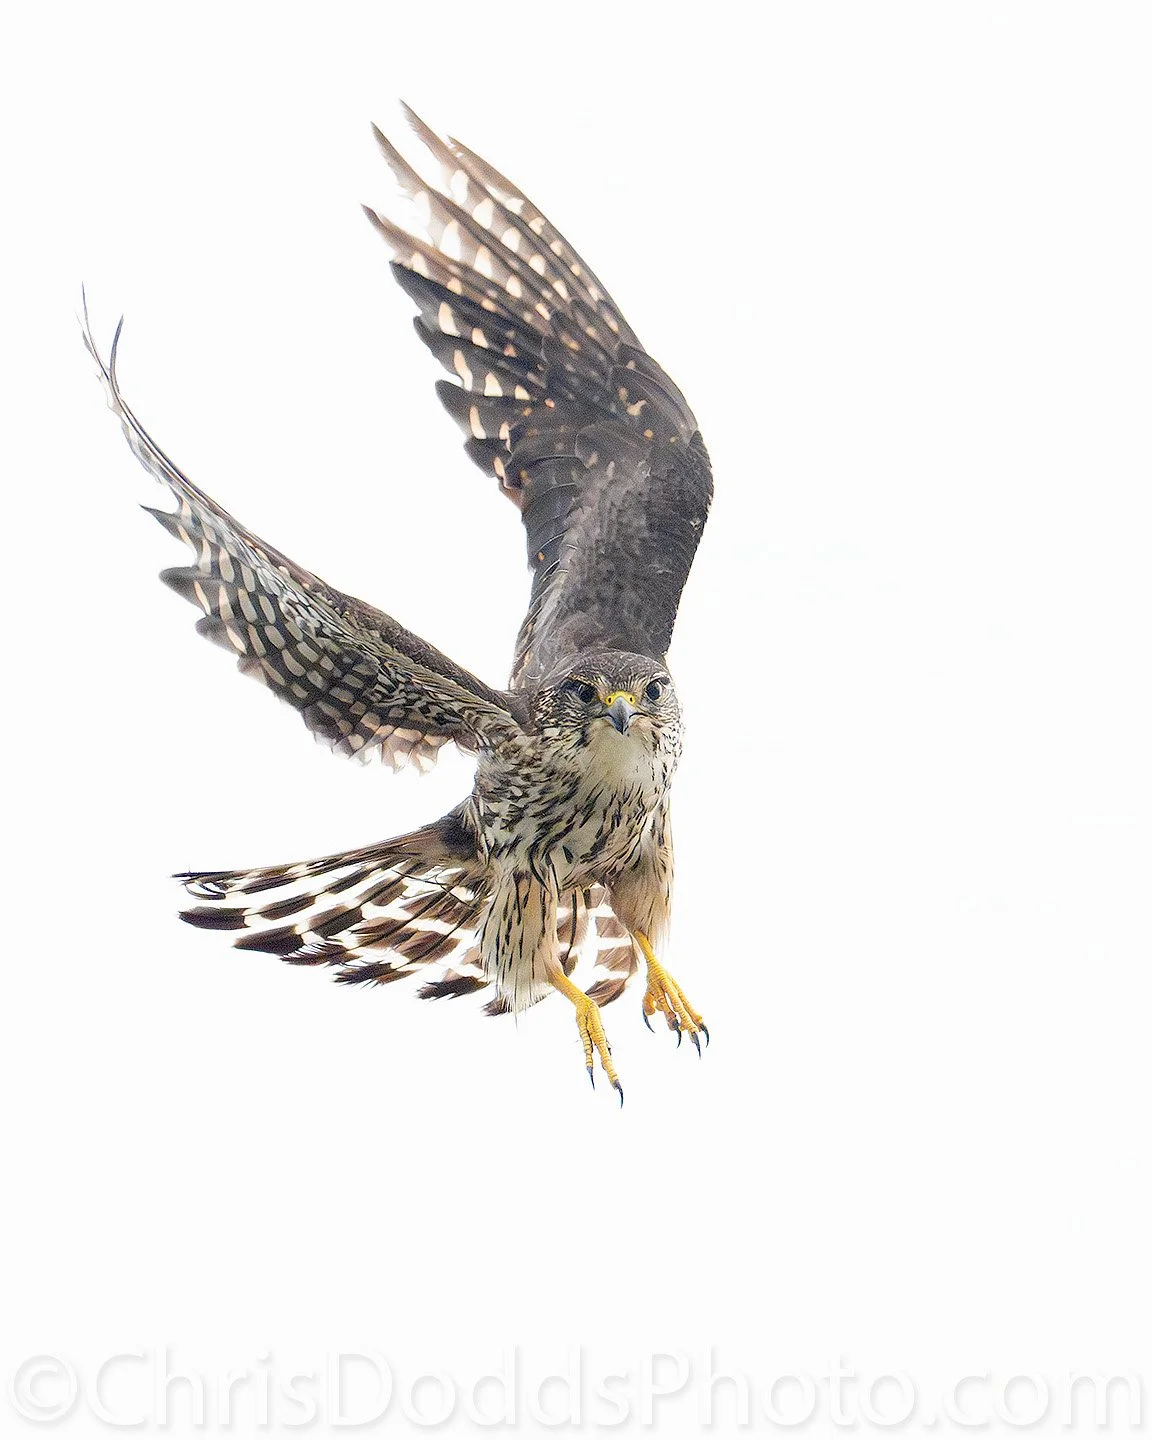
I remember pulling off a puffin mid-track and just trying to find it. By the time I did, it was already on us. Fast, low, and coming straight in.
Bright sky behind it, backlit, no time to think. If you start messing with exposure at that point, it’s over.
I didn’t touch anything.
Exposure was already set for the light falling on the subject. I had checked the histogram earlier and knew where I was. So when it came through, it was just track and shoot.
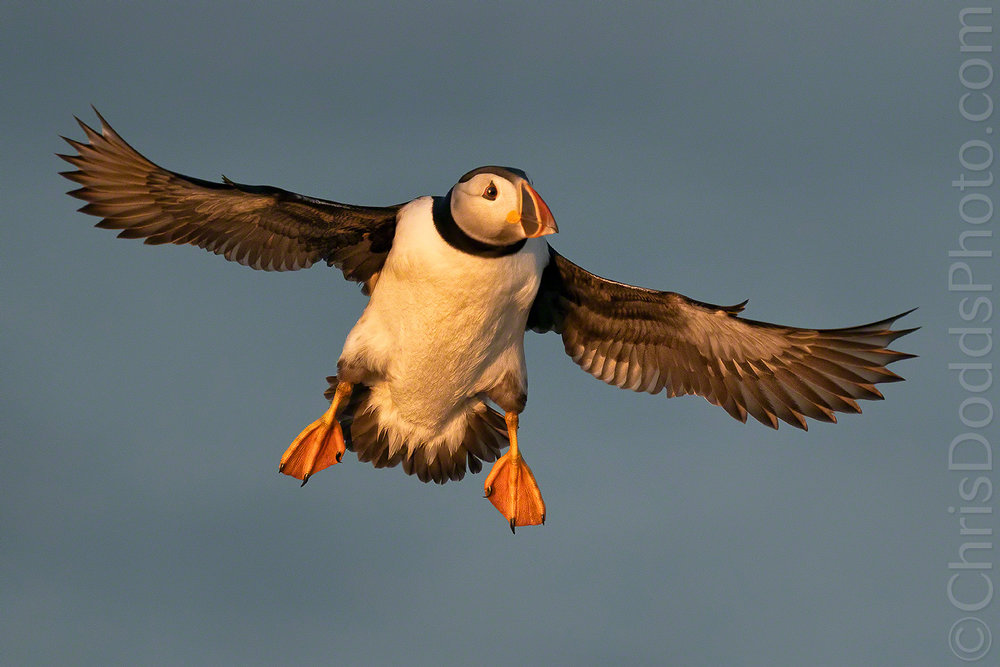
One quick moment—wings up, feet down—and then it was gone.
That was it.
We all kind of reset, picked the puffins back up, and carried on as if nothing happened. Another bird came in with a bill full of capelin a few seconds later, and the rhythm was right back.
But that one sticks with you a bit.
Not because it was a Merlin—but because there was no time to fix anything if it wasn’t right already.
There’s one room left for this year’s Deluxe Atlantic Puffin Workshop. We’ll be based on a remote lighthouse island, with hundreds of puffins flying right over us and landing just 200 metres from where we’re staying.
If that kind of experience has been on your list, this is your chance.
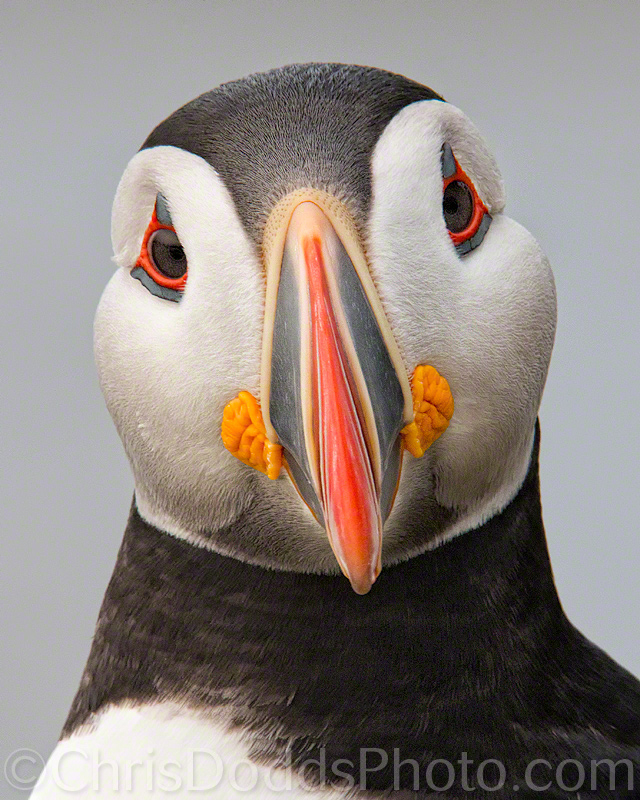
“To say the puffin experience was enjoyable would be an understatement! It was amazing! Being on a small island, living in a lighthouse keeper’s house, with a puffin colony close in our midst gave us a great opportunity to get up close and personal with the plentiful puffins combined with many other sea and song birds! Seeing the puffins bringing capelin to feed their “pufflings” was a highlight! Being on site offered us different lighting conditions, including the warm morning and evening hues, with Chris offering us great guidance on camera settings for optimum results! I knew puffins flew fast, often flying over our heads where you could feel the wind of their wings! How cool is that!? Photographing them to freeze the action with crisp, in focus images was truly fun, especially when puffins arrived with “fish on”! Chris’ extensive photographic expertise was greatly appreciated, and it paid off as we all came back with wonderful images! I highly recommend this excursion!”
- France Boutilier Nova Scotia | Canada Aug. 2025 Deluxe Atlantic Puffins Galore Workshop