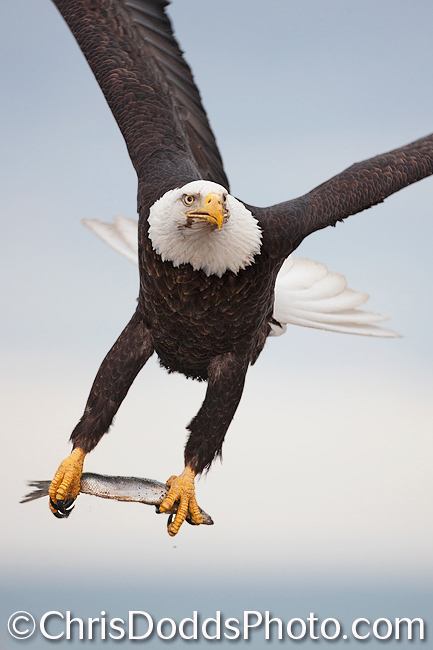
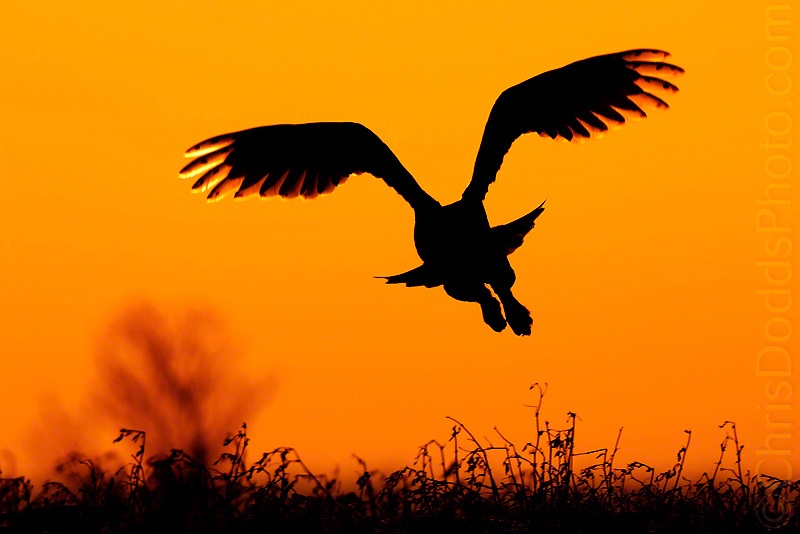
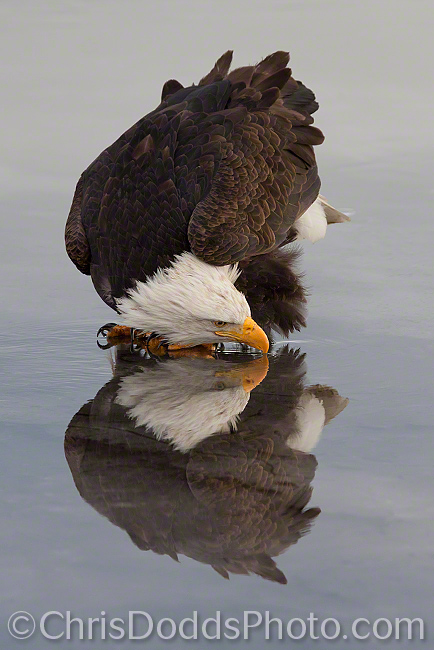
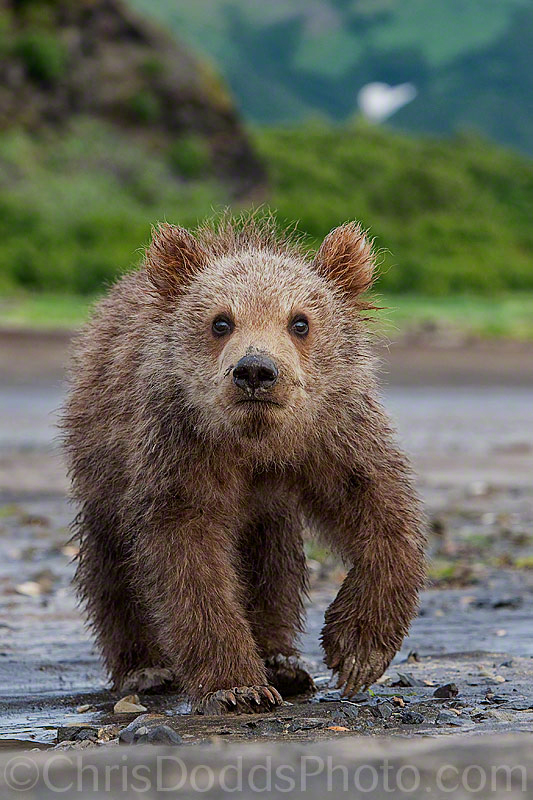
American Bald Eagle TOUCHDOWN (Haliaeetus leucocephalus, Pygargue à tête blanche) Homer, AK Image Copyright ©Christopher Dodds www.chrisdoddsphoto.com All Rights Reserved. Canon EOS 1Ds Mark III, 300mm F2.8 IS, tripod and Wimberley Head II. ISO 400, F5 1/1000s Manual Exposure. Full Frame. Click HERE to order a print or license image for publication. Image presented with both a visible, and invisible digital watermark by Digimarc.
Have you ever come across a web site that had used one of your images without permission? Have you ever tried to find your images being used on web sites without your permission? Perhaps you should; I often Google the filenames and keywords of the images I have posted on-line, and regularly Google the keywords that drove visitors to my website and this blog. Every single time that I try, it doesn't take very long to find my images that were stripped of their visible watermark and posted, without permission, to someone’s blog, website or even used by a corporation to promote their product or service. Once found, I simply send an invoice for ten times what I would have charged, had they been honest and purchased a license for their specific use. Ten times the regular fee! Is that enough? No, once one of my images has been stripped of it’s metadata and it’s visible watermark, it is pretty much orphaned; in other words, it’s been stripped of it’s future earnings. Let me explain: If an image buyer searches for, and finds, an image that suits his particular need, then he, or she, would typically contact the copyright holder to negotiate the purchase of an image use license - see where I’m going with this? If the image in question has been stripped of it’s ownership information, then how can the honest, legitimate image buyer find it’s rightful owner? Add to this the simple fact that once the ownership information has been stripped, it’s a perfect candidate for other people to copy and post to the internet without even knowing that they are distributing a copyright protected image.
Visible watermark by iWATERMARK
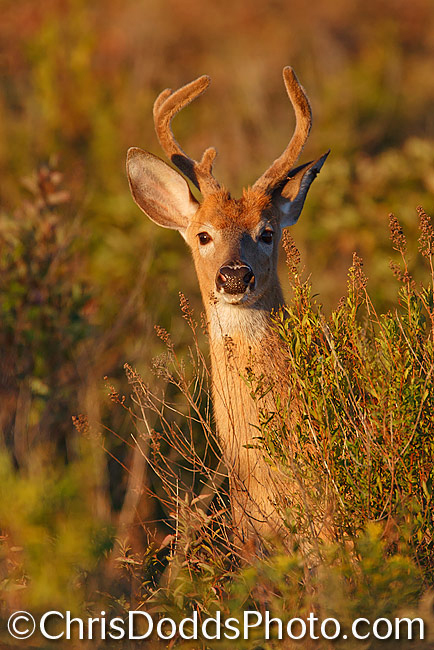
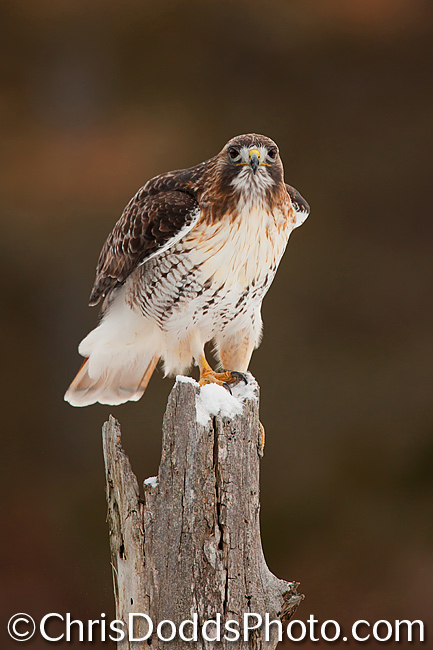
A visible watermark is exactly that; it is text or a logo that clearly identifies the owner of the image and it’s copyright. The size of the message is less important than it’s content; usually the photographer’s name and or website. I tend to use a very large, bold visible copyright as both a claim of ownership and as a marketing tool.
It’s relatively easy to create a visible watermark using many image editing programs, but there are stand alone applications for both the Mac and Windows platform that work amazingly well and are really inexpensive. iWatermark from Plum Amazing Software is an incredible bargain at only US$18.00. Wondering how to create a visible watermark in iPhoto? iWatermark is the perfect companion for iPhoto or any other image editing software that does not have a text tool. iWatermark can place either a text, or image based watermark on one, or a folder full of images, and it can even resize a folder full of images or convert the file format in a single operation.
Invisible or digital watermark by DIGIMARC
An invisible or digital watermark is created when data is embedded into an image that is virtually invisible to the human eye. Once embedded, The digital watermark persists through file copying, format changes, encryption and decryption, and image manipulations such as editing, cropping, compression and decompression — all without affecting the quality of the image or the enjoyment of its viewers. It is virtually impossible to remove.
Creating a digital watermark is as easy as creating a visible one; You will need Photoshop or Photoshop Elements and you will have to subscribe to a digital watermarking service like Digimarc. What was once extremely expensive, is now more affordable with Digimarc for Images now offering annual subscriptions for as little as The Basic Edition at US$49.00 (up to 1,000 images). The Professional Edition (US$99.00 up to 2,000 images) and the Small Business Edition(US$499.00 up to 5,000 images) also benefit from the Digimarc Search Service.
The Digimarc Search Service constantly crawls the web, scanning billions of images each year to locate digital watermarked images. The service helps you to know where your images are used on the web, ensure you are fairly compensated for the use of your images and monitor that the right images are being used on the right sites at the right time. There are many factors that determine the successful discovery of an image — including how deeply an image is buried within a particular website, and the number of sites which the image is posted. The more images you digitally watermark that make their way onto the Web, the more likely Digimarc Search Service will find them. If you have only three images online, they won't be as easy to find. Likewise, if you upload your images to a website and nobody re-posts them, your chances of being immediately found are minimal. Depending on these factors, it could take one to six months to isolate a website where one of your digitally watermarked images is used with, or without your permission. As a general rule of thumb, websites with higher traffic get indexed first. Small Business and Enterprise customers can employ the Directed Search option, where specific sites are directly targeted. This is especially useful if your images regularly appear on pages that receive less traffic, or you want to monitor potentially offending websites. All URLs in your Directed Search list are crawled every month.
I am diving right into my Small Business Edition Digimarc for Images, and will report my findings here from time to time.
SAVE 30% OFF the regular DIGIMARC FOR IMAGES annual fee by entering the coupon code "naturephotography" at the check-out.
WIN a ONE YEAR PROFFESSIONAL EDITION DIGIMARC FOR IMAGES subscription. Subscribe to my newsletter at the top of the column to the right of this post before December 15th, 2010 and you are automatically entered to win a one year Professional Edition Digimarc for Images account worth US$99.00.
Great FREE Gear Giveaway Continues
Sign-up for my newsletter before Dec. 15th, 2010 and you will automatically be entered to win some amazing prizes. Simply fill-in your name and email address in the form in the column to the right of this post and you are entered automatically (only sign-up once please). Tweet, Like or Share this blog entry on Facebook or Twitter, or leave a meaningful comment here for additional chances to win. Don't forget to tell your friends or fellow camera club members about the prizes.
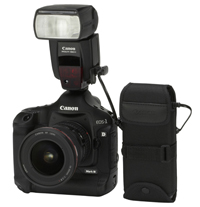
- WH-200 Wimberley Head version II (retail value of US$595.00)
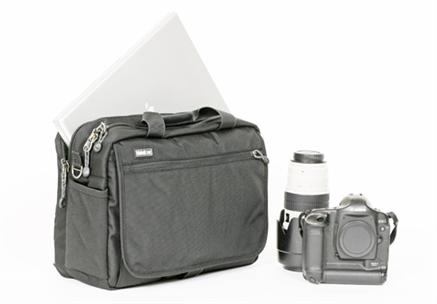
- Think-Tank Photo Urban Disguise 50 (retail value US$169.00)
- Nik Software Viveza 2 (retail value US$199.95)
- Digimarc for Images Professional Edition 1 year subscription (US$99.00)
- One of eight Canon Long Lens Rain Covers (US$125.00 each)
- More to come
Dec. 15th PHOTO GEEK CHRISTMAS PARTY
I'm hosting my first annual PHOTO GEEK CHRISTMAS PARTY at the ROCKBURN PUB 2461 Mtee Rockburn, Hinchinbrook, Quebec J0S 1E0 (450) 264-2239. All amateurs and hobbyists welcome! It's an à la carte menu and there is no fee (other than paying for your own food & drinks) - I will pass the hat for a soon to be announced charity; donations are optional but encouraged. Come on out and meet me, my friends and make new contacts while networking and showing off a few of your favorite images from 2010. Feel free to bring prints, iPads or laptops with your favorite images. RSVP required - email me at chris@chrisdoddsphoto.com (please type PHOTO GEEK CHRISTMAS PARTY in the subject line) to reserve your spot. Space is limited, so be sure to reserve soon. I will be drawing some great prizes for the Great Gear Giveaway Contest and you get another name in the hat @ the party. Special thanks to Joann for opening the pub just for us!