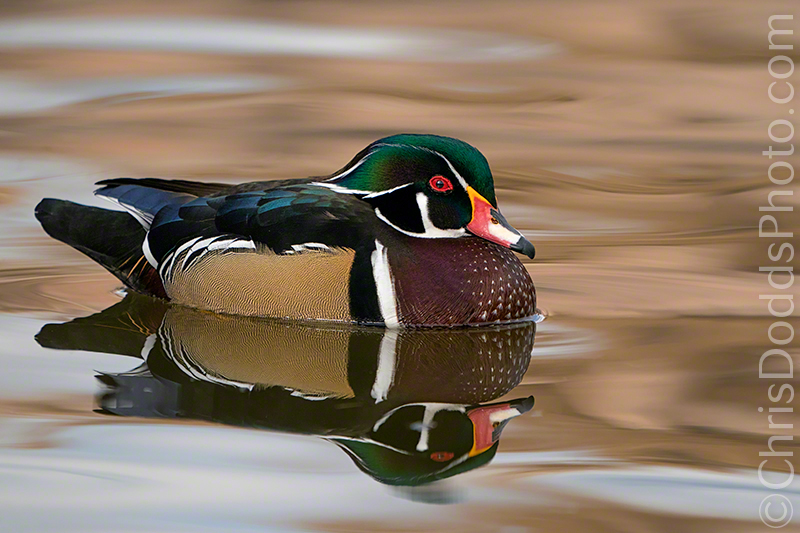
 Wood Duck Drake (Aix sponsa, Canard Bronchu, WODU) Tingley Ponds Albuquerque, NM, USA. Image Copyright ©Christopher Dodds. Sony Alpha a9 Mirrorless Camera & Sony FE100-400 F4.5-5.6 G Master OSS and Sony 1.4X @560mm. Full frame image. ISO 1,600 f/8 @ 1/1,600s Manual exposure mode. PURCHASE A PRINT or LICENSE IMAGE FOR PUBLICATION HERE.
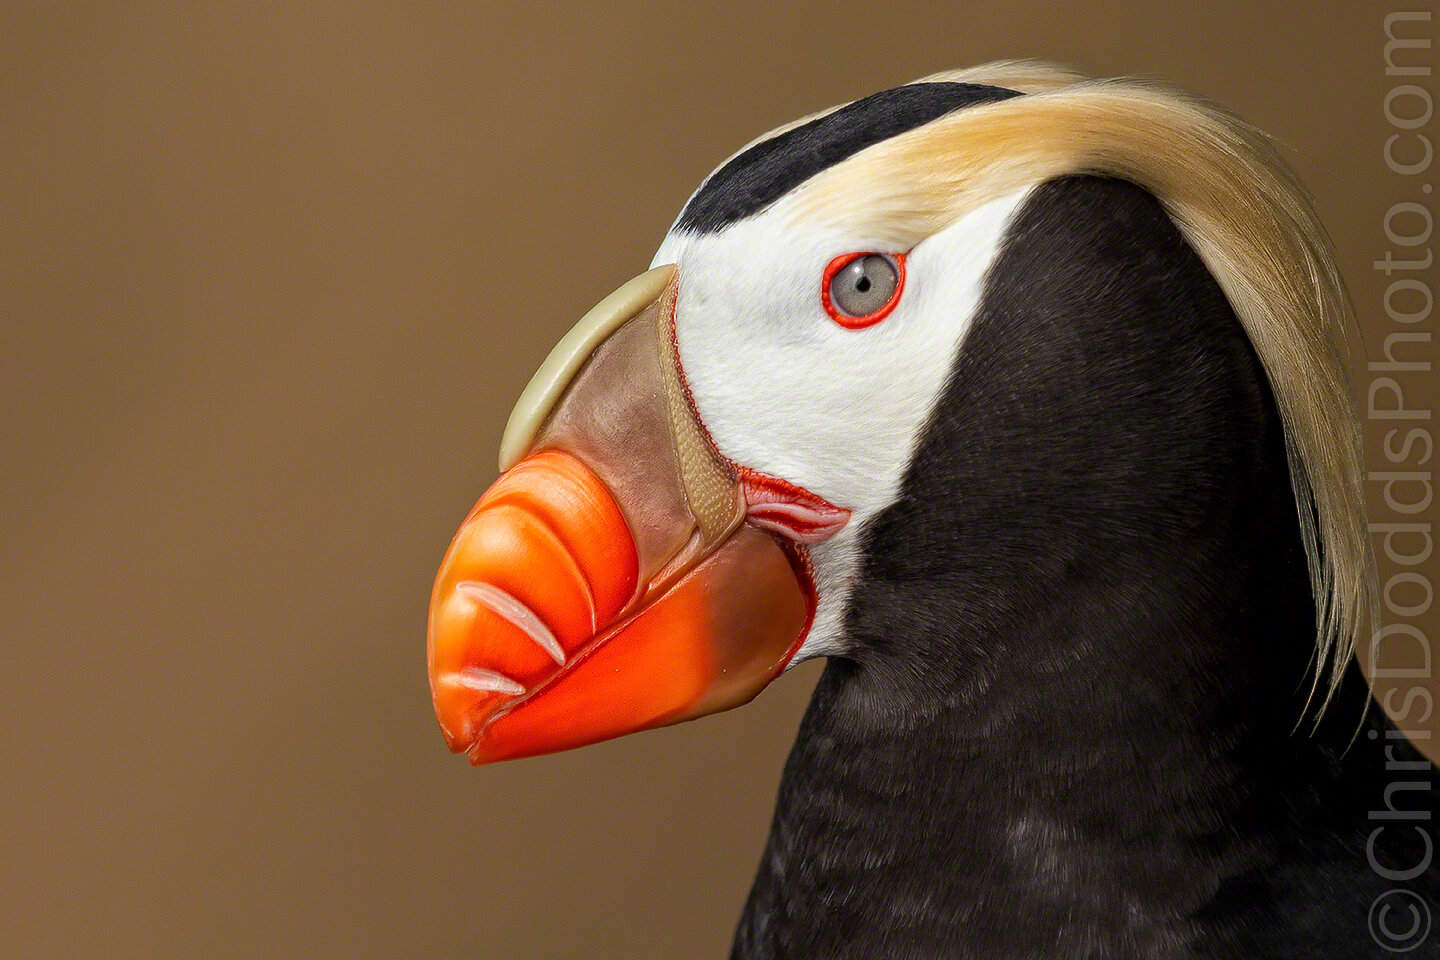
Here's a Drake (Male) Wood Duck from my recent Better Than Bosque Workshop last December. Aside from the usual suspects (Sandhill Cranes and Snow Geese), the variety and number of ducks were a huge hit with everyone on the trip. I spent a lot of time with the Sony a9 and the 1.4X and 2X on the 100-400mm G Master lens and love the results with incredible detail.
Q&A:
Hi Chris- I am also a friend of Rob P living in Colorado. Switching to Sony from Canon. Had most canon lenses from 16-35 to 500mm. Shot with 1dMk4 and 7d2 for wildlife. Just getting used to settings on the Sony. Today was shooting with the a7riii, 100-400 sony with 1.4 converter. Photographing a soaring red tail hawk in manual settings, auto iso, 25oo sec., 6.3 in zone focus mode. I use back button focus and locked on to Hawk but all of the images were not sharp. With my canon 7d2 and 100-400 II every image would have been sharp. What am I doing wrong? Can't believe some images were sharp and some soft in a continuous burst. Rob said you may be able to help. I have a couple photo trips coming up in January and February and am leery on the sony setup. Have not sold my canon gear yet...Thanks, Bob K
Hey Bob,
A careful read of your question leads me to suspect a few reasons for your soft images:
1. Crop vs. Full Frame: You were using crop sensor cameras, but have switched to a full-frame camera with the 1.4X extender. Instead of the in camera crop with the shorter focal length, you are now hand-holding a longer lens on a full-frame camera to acheive the same "reach". This requires much more care.
2. Shutter Speed: While I don't doubt that you got a lot of keepers with your crop sensor camera and 1/2,500s, I strive to work at 1/5,000s for flight photography. In the past, most would agree that 1/focal length to be sufficient shutter speed for sharp images (1/500s when using 500mm). In my experience, the resolving power of modern lenses and sensors requires around ten times that to ensure razor sharp images.
3. Focus Mode: I seem to be using Centre Spot Lock-on most of the time for birds in flight with my Sony Cameras.
4. Back Button Focus: There are some ergonomic differences between your old and new cameras; perhaps button size, placement and the amount of pressure it needs to be kept pressed continuously. I have never been a fan of Back Button Focus, because it is simply too easy to make a mistake and release a little pressure from your thumb. Back Button Focus is also near impossible in sub-zero temperatures. Consider assigning focus back to the old fashioned shutter button.
Hope this helps!
Chris